How does it work?

This is a basic introduction how you can cut out the best of your images with the PictureCutter. The following 9 steps will help you learn to use the future of picture cutting...
- Start the Program picturecutter.exe
- Drag&Drop a folder with your images into the running program window.
- Wait till all thumbnails are visible on the left side of the picturecutter. This is the input thumbnail list.
- Doubleclick on a image in the input thumbnail list.
- The image will appear in the center of the picturecutter. This is the workplace.
- On the Workplace you can see a frame. With this frame you'll select the area which will be cutted out. You can change the position as well as the size of the frame by moving it around with the mouse. Stretching it by pulling the frame on the dashed borders and corners. And finally expand and reduce the frame with the mouse wheel.
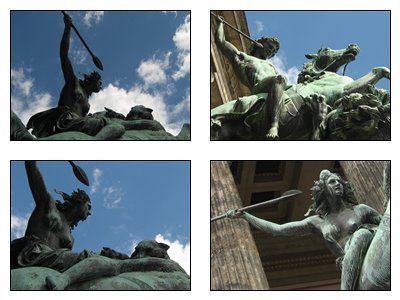
- If you have the right area selected just doubleclick into the workplace and the window will be rendered into the destination folder and show up in the output thumbnail list on the right.
- Allways remember, there are no buttons on the screen and the idea about this is to increase the focus as well as the creativity to the maximum level. You can find all possible functions and settings by using the context menu (right click).
- Enjoy cutting...

